Behind the Scenes
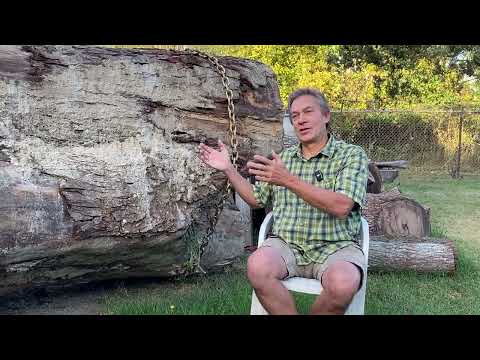
Meet John
Learn what John does and everything involved in custom urban timber processing behind the scenes.
Learn how to pour and seal an epoxy table like a pro with John Haling at John’s Urban Timber in Whitmore Lake, MI.
One of today's special projects is fixing up a live-edge table slab that came in from a customer in really rough shape. Somebody attempted epoxy work on it before the wood was properly dried, so it was 1½ inches thick on one end, 3½ inches thick on the other, and curved. I flattened it out using our wide surfacing sander and set up the Bridgeport mill with a custom mixing paddle to mix resin and hardener at low RPM so it doesn't create a vortex that sucks air bubbles into the mixture. Before pouring, I take a bristle brush and wet all the live-edge contours so the epoxy flows evenly over all nuances and seals the wood. After pouring, I use a heat gun to gently release micro-bubbles. My #1 advice for anyone wanting to do epoxy work: Don't make your prize dining room table your learning curve! Start with scrap wood, pick one brand of epoxy and stick with it, learn how it reacts, and practice on scrap before tackling your dream project.
Keep watching
Behind the Scenes
Learn what John does and everything involved in custom urban timber processing behind the scenes.
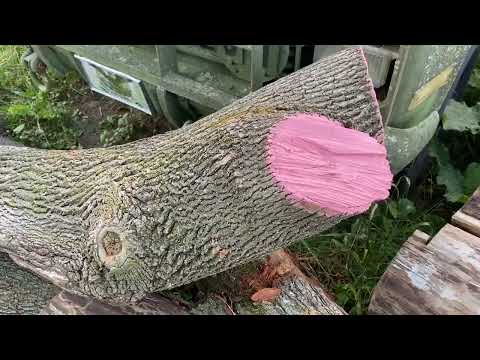
Log Preparation
Why we paint and seal the ends of hardwood logs to control moisture loss and prevent splitting.
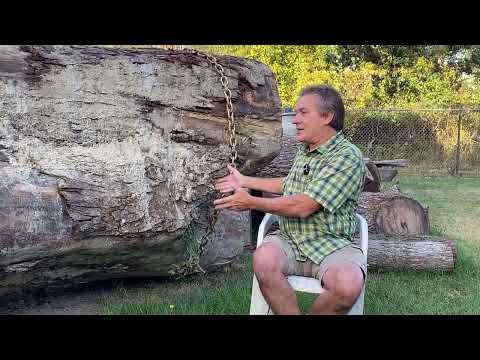
Shop Tour & Inventory
Tour John's shop in Whitmore Lake, explore live-edge slab inventory, and learn about hardwood species.
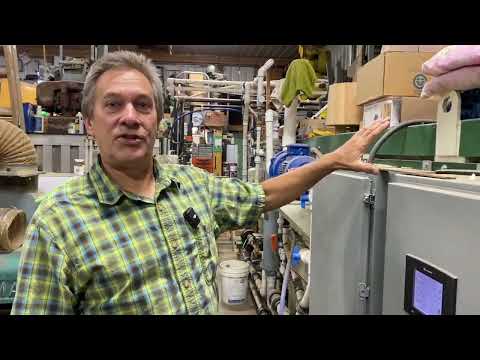
Vacuum Kiln Drying
John explains how vacuum kiln drying works, moisture testing, and why it prevents wood checking and warp.
Reclaimed Logs
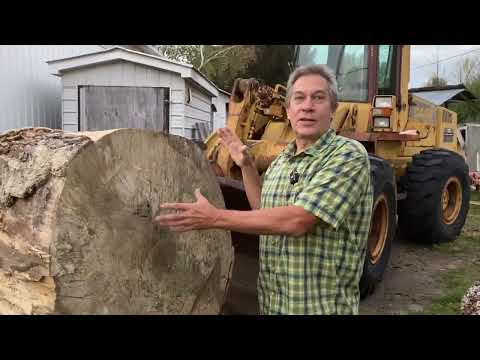
John shows off a massive urban salvaged monster log at the Whitmore Lake shop.